

| << Chapter < Page | Chapter >> Page > |
In this section we will discuss techniques using spreadsheet for inspecting quantitative and qualitative data particularly for summarizing frequency, relative frequency and cumulative relative frequency. We will primarily use Microsoft Excel and Google Spreadsheet, as we will use these two resources for sampling and surveying in this introductory course. We will also introduce Google Fusion for a quick look at data found on the internet. First let’s explore the components of most spreadsheet programs.
Most spreadsheets have some characteristics in common. They have a
Ribbon and commands at the top of the file, a series of
columns identified by the alphabet and a series of
rows identified by the counting numbers, a
formula bar , and a space at the bottom of the page for “
worksheets ” within the file or notebook. Below is a screenshot of Excel 2013 and Google Spreadsheet (found in Google Drive). Again if you are using a different version of either of these products, directions may vary but the concepts will be the same. Please note that the Excel ribbon contains 8 tabs: File, Home, Insert, Page Layout, Formulas, Data, Review, and View. Google Spreadsheet contains 8 tabs also File, Edit, View, Insert, Format, Data, Tools, and Help. I will draw you attention to these tabs as we proceed.
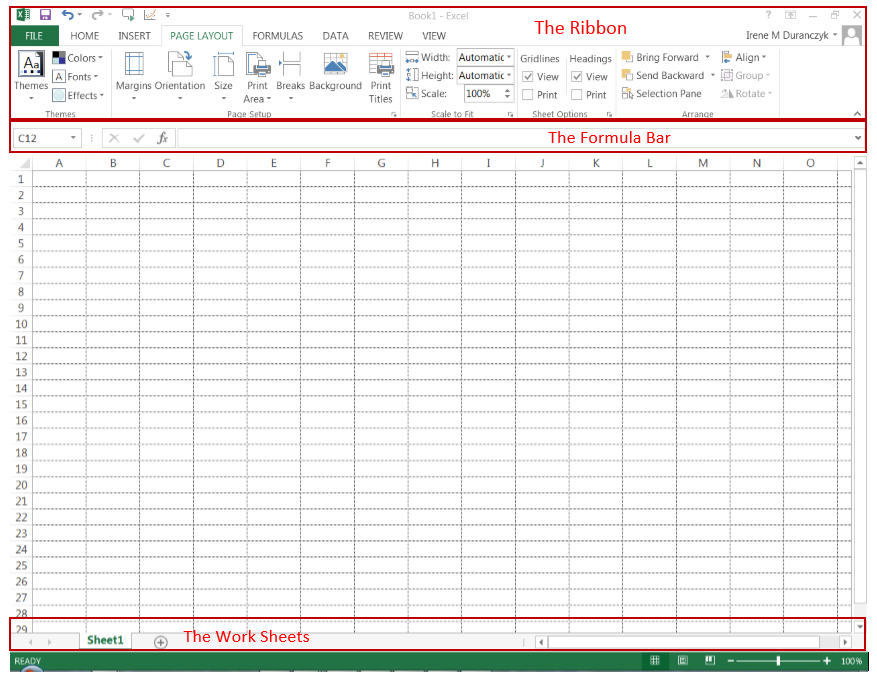
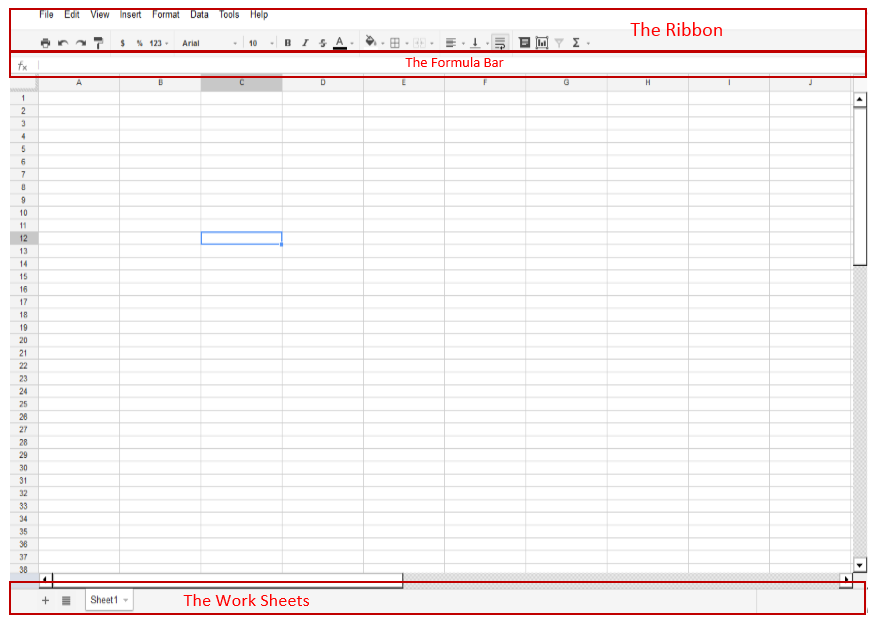
Although the ribbons at the top appear quite different, they both contain the same elements, such as File, View, Insert, Data, and Help. Many of the other functions that they have in common are “housed” in other pull down menus on the ribbon. Both spreadsheets will allow us to add data cells, label data columns and rows, calculate frequency, relative frequency, cumulative relative frequency, and create graphs and charts based on our data summaries. Let’s get started!
Downloading data from Moodle: We will begin our use of a spreadsheet by using a file of data supplied by your instructor. This file will contain rows and columns. The first row will have the titles of each of the columns. The first column will be individual data cases, the other columns will be either quantitative (discrete or continuous) or qualitative data (ordinal and nominal). To move a file from the course shell to Excel you will:
Notification Switch
Would you like to follow the 'Collaborative statistics using spreadsheets' conversation and receive update notifications?

|
|

|
|

|
|

|
|

|
|

|
|

|
|
|
|
|

|
|
|
|